Algae in Sand Filter? Here’s How to Remove it
If there is algae in your sand filter, it will be coming from your pool. To remove it, deep clean your sand filter. Then, scrub, shock or slam your pool to remove the source of the algae. Follow this up with phosphate remover and proper pool maintenance to prevent the algae from returning.
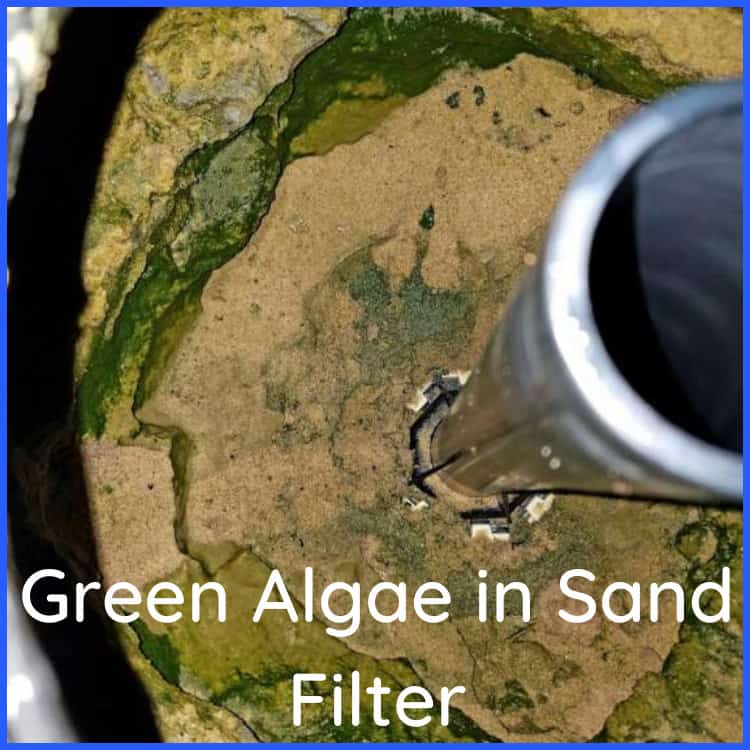
I’ll go into more detail on why there are algae in your sand filter with resource links on how to remove it effectively below. I’ll also provide some pictures of algae-ridden sand filters for reference.
Why is There Algae in my Sand Filter?


Algae gets into your sand filter via your pool. So, if you’ve been seeing green or slimy materials in the sand of your filter, it’s likely coming from the water being pumped through it.
Algae find it difficult to grow without sunlight as it requires photosynthesis. Therefore, in a closed container like a pool filter, it is unlikely to develop.
Saying this, there are rare exceptions when algae can grow in a sand filter. For example, if sugar or starch makes its way into your filter, algae could grow as it would have a food source. But again, this is rare.
If you do believe the algae is developing in your filter, it’s best to give it a deep clean. I’ll explain how to do this later.
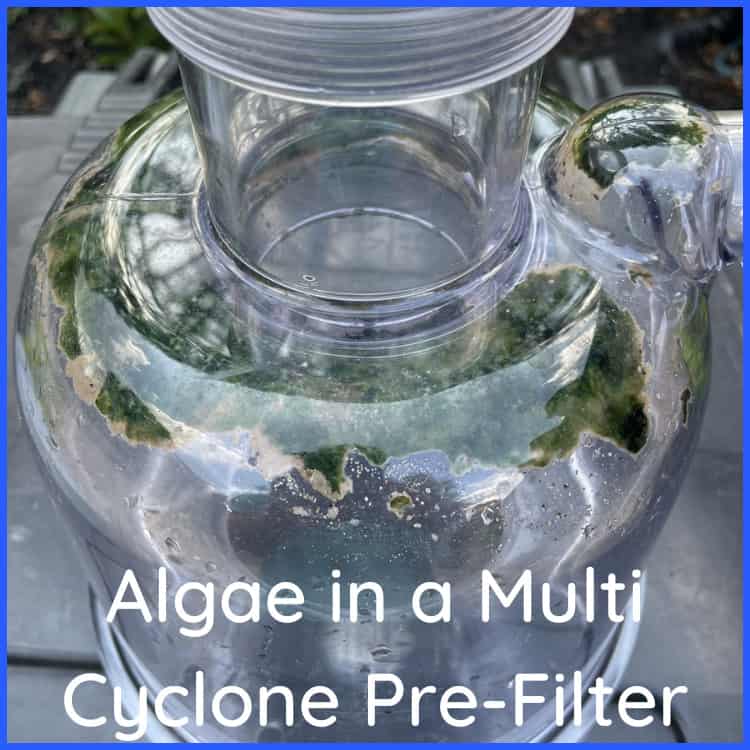
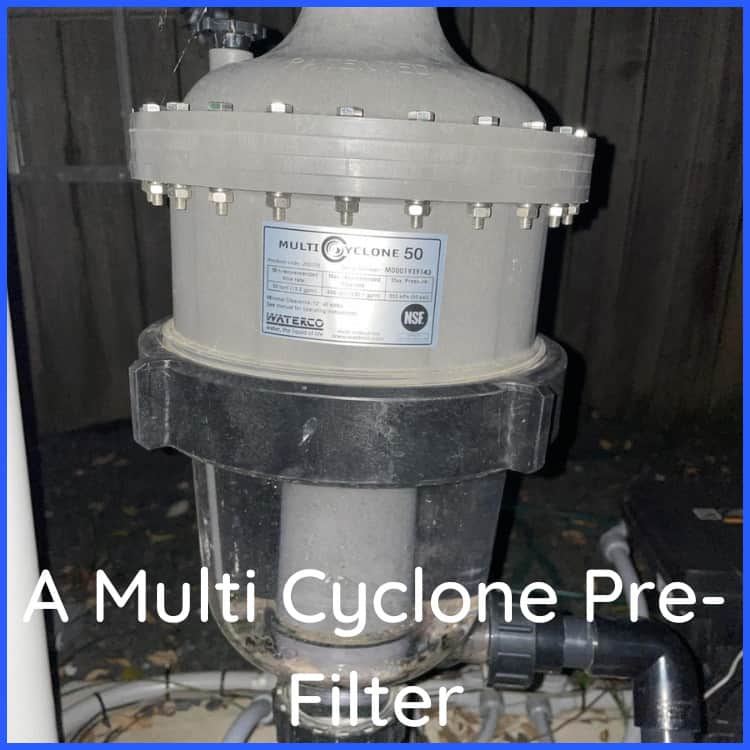
Algae Can Get Stuck in Pre-Filters (Multicyclone Owners Only)


Although I’ve never experienced this personally I’ve read that multicyclone pre-filters can sometimes trap algae and other bits of sediment in the clear sediment chamber. This can happen even if you’ve shocked and cleansed your pool of algae.
To clean the algae from the clear chamber, you have to open the purge valve which will release any of the sediment.
If this doesn’t work, you can open the purge valve whilst the pump is running. This should release any additional sediment that didn’t budge when you opened the valve the first time.
If the sediment is still clinging on for dear life, you can install a two-way shut-off valve between the Multicyclone and the filter. This will improve water pressure from the pump and help purge stubborn algae.
To do this, you will need to turn off the pump, close the two-way valve, and then open the purge value (on the Multicyclone). After, switch on the pump and the sediment should be removed from the boost in water pressure. Once purged, switch off the pump, open the 2-way shut-off valve, and close the purge valve.
Check the Colour of the Algae Before Treating
You need to identify the color of the algae in the sand filter if you want to get rid of it for good. Different algae has different resiliences to chlorine and removal methods. So, the sooner you identify what kind of algae you’re dealing with, the quicker to can remove it effectively.
- Mustard/yellow algae: This is yellow in color and is particularly stubborn, requiring triple shock and a ton of scrubbing.
- Green algae: This is a common form of algae and is easy to get rid of with shock.
- Black algae: This stuff is nasty and takes a while to get rid of. Lots of shock, scrubbing, cleaning, and backwashing are required to remove this stuff.
How to Easily Remove Algae from Your Sand Filter
Once you’ve identified algae in your filter, here are a few simple steps to removing it. Please see my disclaimer below though as different algae require different treatments.
However, if you’re just getting it out of your filter, the process is relatively the same regardless of algae color.
Give the Sand Filter a Deep Clean
The first thing you should do is give your sand filter a deep clean. This is a lengthy process and should be performed at least once a year. I’ll provide a basic explanation of how to do this with algae below but will also provide a resource link to a more in-depth article I’ve produced on the process after.
Step 1: Disconnect the filter from the pool plumbing
You’ll want to isolate the sand filter from the rest of the pool plumbing before the deep cleaning. This will ensure no algae or junk goes back into the pool.
Step 2: Remove any large chunks of algae
Open the top of the filter and get your hands in to remove any large clumps of algae and debris. Dispose of it into a waste bag or container.
Step 3: Place a garden hose into the filter
Turn on a garden hose with a gentle flow and stick the hose into the sand filter. Don’t jam it straight into the sand. Instead, slowly move it into the sand and move it around to dislodge any sand clumps. Make sure to watch out for laterals – this is why you should be slow and steady with this step.
Step 4: Fill the filter until the water overflows from the top
Continue step 3 until you have water overflowing from the top of the sand filter. You’ll notice the water will be sludgy, algae-ridden, and nasty. Continue allowing this overflow until the water is clear.
Step 5: Backwash
Once step 4 is complete, close the filter and activate a backwash to remove any further algae or dirt.
Step 6: Rinse
After backwashing, always activate a rinse. This will release any algae and dirt now in suspension with the sand and help resettle the sand bed when the filter is returned to normal function.
Don’t Replace the Sand (Unless You Have too)
You shouldn’t need to change your sand even if it has been exposed to algae. This is also an expensive process, so it’s better to keep your wallet in your pocket and just deep clean instead.
The only real time you’ll need to replace your sand is if it’s hard-packed into the filter and won’t budge (no matter how hard you hit it with a broomstick handle). If the sand refuses to clean through the above process and keeps bunching up into hard balls, then it might be time to bite the bullet and buy some new sand.
Brush/Wash the Pool Surfaces
Now your filter is clean, it’s time to tackle the pool. Grab yourself a pool brush and start scrubbing every surface around the pool.
If you have visible algae, give those spots dedicated attention. This is especially true if you’re dealing with black or mustard algae.
Make sure you’re using the right brush for your pool.
Shock or SLAM Your Pool
With the pool successfully brushed, it’s time to shock or SLAM your pool.
If you’re shocking, broadcast your preferred shock along the perimeter of your pool and make sure the pump is running to distribute the chemicals evenly (unless you have black algae).
If you’re SLAMming your pool, follow the SLAM process by bringing your free chlorine levels up with liquid chlorine or bleach.
Make sure to perform either procedure in the evening or at night. Also, make sure your pool chemistry is balanced beforehand.
Turn Your Filter to Recirculate Mode
When you turn on the pump and filter, it could be a good idea to make sure the filter is set to recirculate for the first 24 hours. This will make sure the chemicals and chlorine are distributed evenly across the pool and prevent the filter from getting pumped with algae again.
Add Some Phosphate Remover if Necessary
Once all the above steps are complete (and you’ve repeated them a few times), you can add some phosphate remover to prevent any further outbreaks. You can also add phosphate remover during the process to kill the algae more quickly.
If you live in an area with lots of dust, trees, and high winds, adding phosphate remover every week can prevent any further algae in your sand filter and pool.
Big disclaimer: This is a simplified way to remove algae. You need to treat your pool correctly depending on what algae you have.
